 Insulating layer with a thickness 180 mm is able to prevent both excessive in summer, as well as insufficient winter temperatures in the attic.
There are three options for arranging an insulating layer – pod, between and above the rafters. The first solution has almost only disadvantages: it takes up partly and usually the cramped interior of the attic, The whole entablature is left on the "cold" side of the insulation, what causes, that the wood should be very carefully protected against moisture and pests. For these reasons, the insulation placed under the rafters is only occasionally recommended as additional insulation performed during the renovation of old houses..
In new buildings, it is most rational to lay insulation above or between the rafters. The latter option is especially worth recommending to investors, who are determined to carry out some of the work on their own. It is a great field for DIY enthusiasts. All the related activities are performed after the entire roof structure has been installed. However, this method also has its drawbacks: first, the thickness of the insulating layer is limited by the cross section of the rafters, and after the spaces between the beams are completely filled with insulating material (due to the ever increasing requirements of room insulation standards), The entablature becomes invisible from the inside. In addition, each rafter is the so-called. cold bridge, which worsens the overall heat balance of the building and may be the cause of local moisture.
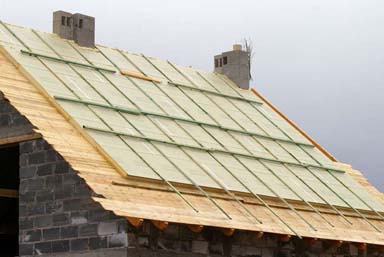
Insulation above the rafters is the best in terms of physical properties. It can be laid without gaps, thus without the occurrence of said cold bridges. In addition, the entire roof structure is in this case under an insulating cover, thanks to which it is well protected against wind and changing temperatures.